
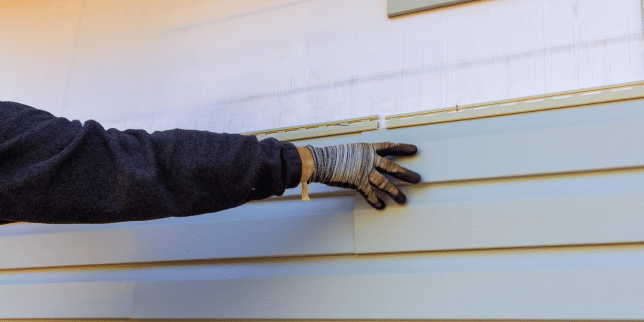
Your home’s siding does more than set the tone for curb appeal; it protects everything inside your walls. When it’s time for a full siding replacement, many homeowners feel a mix of excitement and uncertainty, wondering how disruptive the process will be, how long it will take, and whether the investment will truly be worth it.
As a Greater Lansing home remodeling company, we walk homeowners through full siding replacements every day across Michigan. Our team knows that this isn’t just a construction project; it’s a major decision that affects your home’s appearance, performance, and long-term value. That’s why we focus on clear communication, thoughtful planning, and proven processes that minimize surprises.
In this guide, we’ll break down exactly what to expect during a full siding replacement with Custom Built, from the first conversation to final inspection, so you can move forward feeling informed, prepared, and confident in what’s ahead:
- Initial Consultation and Assessment
- Choosing Materials
- Color Selection
- Preparing Your Home for Installation
- Installation Process Overview
- Final Inspection and Cleanup
1. Initial Consultation and Assessment
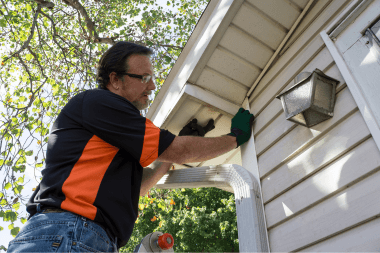
Every siding project starts with curiosity, not assumptions. Our first goal is to understand your home, your concerns, and your vision.
We’ll ask questions like:
- What do you like, or not like, about your home’s current exterior?
- Are you solving a problem, or simply ready for an update?
- What do you want your home to feel like when it’s finished?
Siding is one of those upgrades that isn’t always necessary, but homeowners are often surprised by how much better their home looks and feels once it’s done. This stage is also where inspiration comes into play. Pinterest boards, saved photos, or even Zillow images from homes you love help get the conversation going.
From there, we move into practical assessment. Using tools like the Hover app, we can capture accurate measurements of your home’s angles, windows, and overall layout. We also look beyond siding alone, examining soffit, fascia, and gutters to see how everything works together.
Questions we’ll explore include:
- Do you deal with ice dams?
- Are your gutters functioning properly?
- Is your fascia showing signs of wear or rot?
This consultation lays the foundation for smart decisions later in the process.
2. Choosing Materials
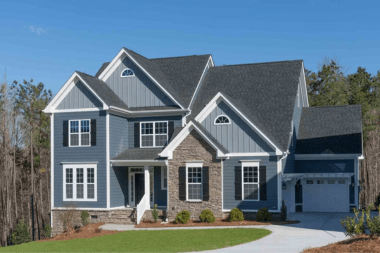
PC: HomeGuide
Once we understand your goals, we move into choosing materials, where design meets durability.
Material Options
Depending on your home and priorities, options may include:
- Fiber cement (Hardie® board) for durability and a more traditional look
- Vinyl siding, available in multiple profiles and price points
- Traditional horizontal siding
- Vertical siding (board-and-batten or reverse board-and-batten)
- Shake or vinyl shake styles for added texture
- Aluminum siding with wood-look finishes, including realistic wood tones and grain patterns
We’ll often reference real project photos to show how these materials look once installed on a finished home.
3. Color Selection
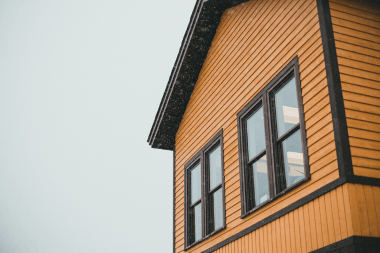
In our experience, homeowners are often surprised by how many color options are available once they start exploring siding products. While each material line has a defined color palette, there’s still a wide range of choices, from classic neutrals to deeper tones and custom-feeling hues that can completely change your home’s look.
During the design phase, we’ll talk through how different colors interact with your roof, trim, stone, and surrounding landscape. We also consider sun exposure, neighborhood context, and how certain shades will age over time. Some homeowners prefer a safe, timeless choice that blends in, while others want their home to stand out in a thoughtful way.
Color Options
Here are some examples of popular color categories we often work with:
- Classic Neutrals: Timeless and versatile, these colors complement a variety of architectural styles and blend seamlessly into almost any environment.
- Warm Beige: A soft, natural tone that blends with any exterior features.
- Light Gray: Cool and subtle, a perfect match for stone or brick accents.
- Soft Taupe: A warm neutral that pairs beautifully with earthy tones.
- Cream: Bright and fresh, this shade creates a light, airy look.
- Charcoal: A darker, elegant neutral that adds sophistication.
- Deeper Tones: Rich and dramatic, deeper colors bring a sense of luxury and depth to your home’s exterior.
- Navy Blue: Elegant and classic, it creates a striking contrast when paired with white trim.
- Forest Green: Earthy and refined, it complements natural surroundings beautifully.
- Slate Gray: A more dramatic gray, perfect for a bold, modern look.
- Burgundy: Adds warmth and richness, perfect for creating a distinguished aesthetic.
- Chocolate Brown: Warm and inviting, offering a rustic, natural feel.
- Custom-Feeling Hues: Unique and personalized, these colors offer a distinctive look that sets your home apart.
- Aged Copper: Metallic-inspired with warm, earthy undertones, it develops a natural patina over time.
- Coastal Blue: A muted blue with gray undertones, perfect for a serene, beachy vibe.
- Sage Green: A soft, calming color that blends well with nature and creates a peaceful atmosphere.
- Rustic Red: A weathered red that exudes charm and character, ideal for farmhouse-style homes.
- Charcoal with a Green Tint: A modern, dark gray with a hint of green for a custom, eye-catching appearance.
Our role is to help you narrow those options with confidence, balancing your personal style with long-term curb appeal so you’re just as happy with the color years from now as you are on installation day.
4. Preparing Your Home for Installation
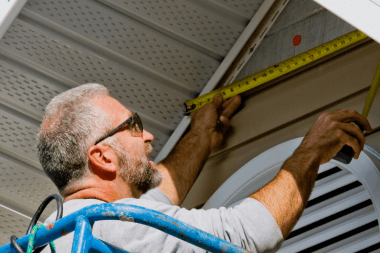
Preparation depends largely on expectations and timing. Siding installation doesn’t always align perfectly with roofing or other exterior projects, so we’ll talk through sequencing upfront.
In most cases, homeowners should plan for:
- Approximately two weeks of active siding installation
- Normal construction noise and activity
- Access around the perimeter of the home
Clear communication is key here. The timeline is the timeline, and understanding that upfront helps avoid frustration once work begins.
5. Installation Process Overview
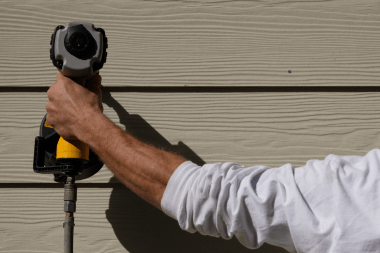
A full siding replacement typically takes 1-3 weeks, depending on home size, material choice, and existing conditions.
The process generally includes:
- Removing existing siding (vinyl, aluminum, or wood)
- Installing house wrap for moisture protection
- Adding J-trim, starter strips, and flashing
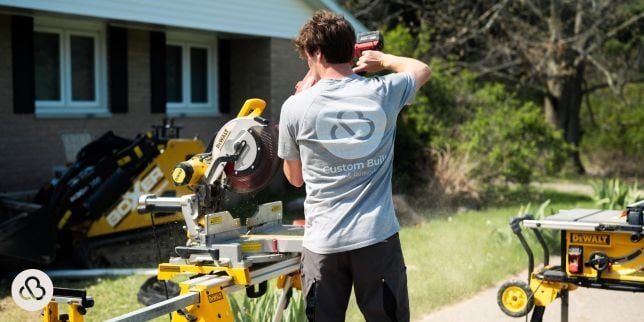
- Cutting and fitting siding using mitered saws for precise angles
- Installing new siding panels, trim, soffit, and fascia as planned
In older homes, there may be multiple layers of siding beneath the exterior. Most unexpected issues arise when upgrading from original wood siding to vinyl, as hidden damage can sometimes surface. That said, it’s uncommon for projects to uncover more work than initially anticipated.
Our goal is to address issues correctly if they arise, without unnecessary surprises.
6. Final Inspection and Cleanup
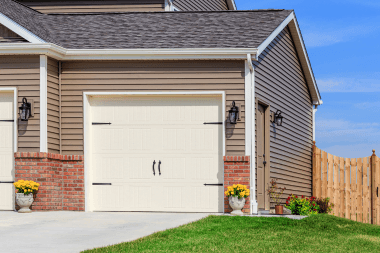
The final stage is about details, quality, and accountability.
Once installation is complete, we:
- Clean up the job site thoroughly
- Walk the home with you during a final inspection
- Review any remaining punch list items
This is where craftsmanship matters. We look closely at:
- Caulking consistency
- Clean, accurate cuts
- Proper alignment of trim and panels
- Soffit installation, including mitered vs. boxed corners on gable ends
Most soffits are aluminum, and while many installers default to boxed corners, some homeowners prefer mitered finishes. This final walkthrough ensures expectations match results.
Throughout the project, we also keep you informed, often sharing progress photos, so nothing feels hidden or rushed.
Next Steps to Replacing Your Siding
A full siding replacement is a step-by-step process, from early conversations about your vision to careful installation and a final walkthrough, designed to protect your home and improve how it looks and performs.
By understanding the timeline, material options, preparation, and inspection process, you’re better equipped to know what’s normal, what to expect, and why certain decisions matter along the way.
At Custom Built Design & Remodeling, we approach siding replacements with experience, transparency, and attention to detail, helping Michigan homeowners make confident, informed choices.
If you’re considering new siding, the next step is a conversation. Reach out to Custom Built to explore your options and see what a well-planned siding replacement could look like for your home.

Now that you know more about what to expect during a full siding replacement with Custom Built, let’s explore the top exterior projects, what to consider before replacing your windows, the best ways to insulate your windows in the cooler months, and our design-build services:
- Top 5 Exterior Home Improvement Solutions in Michigan: Explore the most effective exterior upgrades Michigan homeowners can make to improve durability, energy efficiency, and year-round curb appeal.
- 8 Things to Think About Before Replacing Your Windows: Learn the key factors, from energy performance to installation details, that can impact cost, comfort, and long-term value before you replace your windows.
- How to Insulate Your Windows in Cold Weather: Discover practical ways to reduce drafts, retain heat, and improve comfort during Michigan winters without immediately replacing your windows.
- Custom Built’s Remodeling Services - Discover all of Custom Built Design & Remodeling’s services, from kitchens and bathrooms to additions, decks, and whole-home remodeling, designed to help you plan your next project with confidence.